Safety first: Roasting makes smoke and loose chaff. Set up airflow, keep a clear zone around your heat source, and never walk away. Have a metal colander or sheet pan ready for fast cooling, plus a metal lid nearby in case you need to smother a small flare-up.
- Airflow: Outdoors, garage door open, or a window fan pushing smoke out.
- Attention: Roasts can go from “nearly there” to “too dark” fast.
- Cooling: Dump and cool within minutes to stop carryover roasting.
My first home roast smelled incredible… right up until it didn’t. I got distracted, missed the “pop-pop” of first crack, and ended up with beans that tasted like campfire. The good news? That batch taught me the only beginner skill that matters: noticing signals (sound, color, smell) and choosing a repeatable stop point. This guide is built around that—so your first roast is drinkable, and your second roast is better.
Coffee Roasting, in Plain English
At-home coffee roasting is controlled heating that turns a grassy green seed into a brittle, aromatic coffee bean. If you’ve ever wondered “what does roast mean in coffee?” it’s simply developing flavor by guiding beans through predictable changes—then stopping at the moment you prefer. Pick a finish line you can repeat before you chase “perfect.”
A quick definition that clears up confusion: a coffee roaster can mean the person who roasts coffee, or the machine that heats and moves beans with airflow. This coffee roasting guide focuses on the practical question beginners actually have: how is coffee roasted in a way you can repeat on purpose?
For a deeper reference on methods and fundamentals, Sweet Maria’s home roasting basics are worth bookmarking—then come back and practice the signals.
The three stages: drying → browning → development
Drying drives off moisture (think warm grain). Browning brings toast and bread aromas. Development is the stretch after first crack where sweetness and body build—this is where “light vs medium” gets decided.
What “first crack” and “second crack” mean (practical version)
First crack is popcorn-like snapping as pressure breaks the bean’s structure. Second crack is a quicker ticking that often marks darker roasting, where flavors can turn smoky fast. Beginner rule: first crack means you’re close; second crack means you’re gambling.
You’re chasing a repeatable stop point—not a perfect number.
Beginner roasting mindset
What You Need Before You Heat Anything
Most beginner problems come from uneven roasting or slow cooling—not “wrong beans.” Treat cooling and cleanup like core gear, not accessories.
Yes, green beans can be cheaper than roasted, but the tradeoff is time and smoke. Serious Eats’ perspective on green coffee cost savings is a useful gut-check.
Must-haves
- Green coffee beans: Stick with one coffee for a few batches.
- Timer: Any timer you can see at a glance.
- Two metal colanders: Shake and cool fast; catch chaff.
- Heat-safe surface: Sheet pan or trivet for hot gear.
Nice-to-haves
- Scale: Keeps batch size consistent (try 4–8 oz).
- Heat gloves: Safer handling, less fuss.
- Flashlight: Helps you judge color through smoke.
- Notebook: A roast log turns guesses into progress.
Quick primer for beginners: coffee beans before roasting are green—hard, pale, and grassy-smelling. When you’re choosing coffee beans for roasting, buy small amounts and keep green beans cool and dry (not the fridge). Your job is simple: how to roast green coffee beans safely, evenly, and consistently—then taste and adjust.
If you’re shopping beyond the basics, the “best coffee roasting equipment” usually shares the same backbone: heat, bean movement, airflow, chaff collection, and cooling. Those are the main coffee roasting machine parts whether you’re using a small countertop coffee bean roaster or comparing types of coffee roasters for bigger volume.
You’ll also see “small batch coffee roasting machine” listings by capacity—like a 500 gram coffee roaster for tiny production or a 2kg coffee roaster for small commercial runs. Both typically require real ventilation and space planning, even if they look compact.
Pick a Home-Roasting Method That Fits Your Kitchen
Choose based on what you can actually do every week: airflow, noise level (can you hear crack?), and cleanup. For beginners, a small batch you repeat beats a big batch you dread.
Popcorn popper
Quick feedback and loud first crack. Great for learning timing. For a classic first-weekend workflow, follow CoffeeGeek’s popcorn popper steps.
- Best for: Fast learning.
- Watch out: Chaff drift.
- Batch: Usually 2–4 oz.
Skillet or pan
Cheapest entry and great for learning smell and color—if you’re willing to stir constantly. This is the classic “roasting coffee in a skillet” route: hands-on, smoky, and educational.
- Best for: Zero new gear.
- Watch out: Scorching spots.
- Batch: Often 4–8 oz.
Countertop home roaster
Most repeatable workflow and often better chaff capture, but still needs a smoke plan. Worth it if you roast regularly.
- Best for: Consistency.
- Watch out: Smoke indoors.
- Batch: Medium (varies).
You’ll see other at-home approaches in search results—like roasting coffee in an oven, roasting coffee beans in an air fryer, or roasting coffee in a Whirley Pop. They can work, but they often roast less evenly than a popper or dedicated roaster, and they usually make smoke and chaff management harder. If you try them, keep batches small and lean on your roast log so you can learn what changes actually helped.
Set Up a Safe Roasting Station (Smoke, Chaff, Fire)
Set up three zones before you start: heat, cooling, and cleanup. If you can move beans from heat to cooling in one smooth motion, you’ll save more roasts than any gadget can.
Ventilation plan
Smoke is normal; trapped smoke is optional. Roast outdoors when you can. Indoors, use a window fan pushing air out and keep your setup downwind of your face. Perfect Daily Grind’s guidance on roasting space ventilation supports the simplest rule: airflow first, method second.
Fire safety + chaff containment
Put a metal tray under the roast to catch chaff. Keep packaging and towels away from heat. If you see a small flame, cut heat and cover it with a metal lid—don’t blow on it.
Cooling zone (don’t improvise)
Decide where the hot beans land before you start. Dump, shake, and cool quickly so your stop point stays your stop point.
Your First Roast, Step by Step (Repeatable)
Pick one bean, one method, and one batch size for three tries. Change only one variable at a time (heat or batch size). Repetition is how “coffee roasting for beginners” turns into real skill.
Preheat and load (keep it small)
Start with 4 oz (about 115 g). Preheat so the roast doesn’t stall early, then start your timer the second beans go in. Most home batches land somewhere around 8–15 minutes depending on method, airflow, and batch size.
Track the three signals: color, smell, sound
Color moves green → yellow → tan → brown. Smell shifts hay-like → bready → caramel/nutty. Sound is your checkpoint: first crack is your “close” alarm. If your setup is loud, rely more on smell and color and roast somewhere quieter.
Here’s the simplest “coffee roasting profile” you can run on day one: smooth progress with no long stall and no sudden rush. If nothing changes for a long stretch, you’re likely too cool; if everything changes at once, you’re likely too hot. Your roast log becomes your first roasting 101 profile—because it captures what happened, not what you hoped happened.
- Movement: Keep beans moving to avoid scorching one spot.
- Pace: Long “nothing happens” usually means too cool; sudden leaps usually mean too hot.
- Stop rule: For a first win, stop about 45–90 seconds after first crack begins.
Quick example: Say you roast 4 oz in a popper. You see yellow at 3:00, smell toast around 5:00, and hear first crack start at 6:30. If you stop at 7:15 you’ll often land light-to-medium; if it tastes a little “grassy,” try stopping at 7:30 next time. If it tastes smoky or bitter, shorten the time after first crack by 15–30 seconds and cool faster.
Cool fast, then rest (what to do in the first hour)
Dump into a metal colander and shake. If you have two, pour back and forth to cool faster and knock off chaff. Let beans rest uncovered for 1–2 hours before sealing so early CO₂ can escape.
Printable Roast Log: Click into the cells to type, then print.
| Batch info | Time marks | Signals + notes | Result |
|---|---|---|---|
| Bean: Method: Batch size: Date: |
Yellowing @ First crack start @ Stop @ Cool complete @ |
Smell shifts: Color notes: Crack loud/quiet: Any coffee scorching? |
Roast level: Rested (days): Brew method: Roast notes: |
Tip: Keep your first three logs for the same bean. “Better” is what you can repeat on purpose.
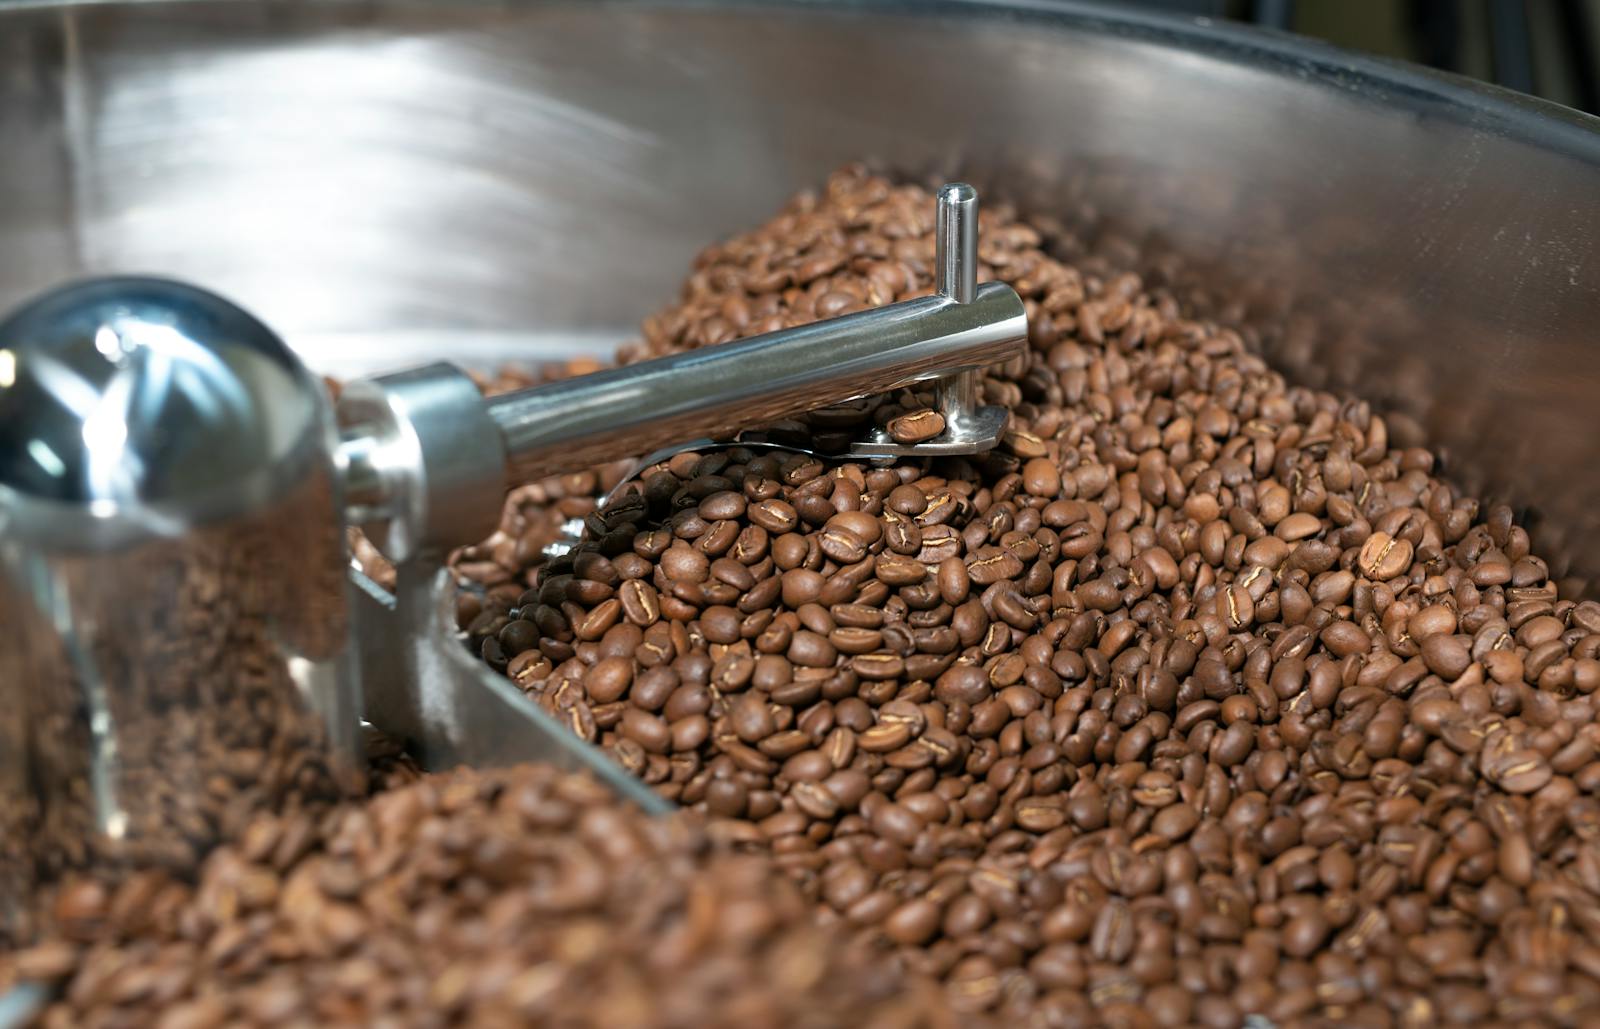
How to Know When to Stop (Light, Medium, Dark)
You don’t need a roast meter—you need a rule. The #1 beginner mistake is waiting for beans to “look dark enough” instead of stopping by a cue tied to first crack.
_214.jpg)
Roast level cheat sheet
| What you want | Where to stop (beginner rule) | Common cup notes | Great for |
|---|---|---|---|
| Light | ~30–60 seconds after first crack begins | Bright, crisp acidity; clearer origin flavors | Pour-over, drip, lighter iced coffee |
| Medium | ~60–120 seconds after first crack begins | More sweetness and body; balanced | Drip, immersion, “everyday” espresso blends |
| Medium-dark | Near the end of first crack; avoid rushing into second crack | Heavier body; lower perceived acidity; more roast flavor | Milk drinks, moka pot |
| Dark | At/into second crack (high risk for bitter/smoky) | Smoky, bitter, roast-forward; less origin character | Only if you truly prefer it |
Some roasters like a temperature lens, too. Numbers vary by machine and probe placement, but this “coffee roasting temperature chart” idea can help you sanity-check your senses when you’re asking what temperature to roast coffee beans.
| Milestone | Typical bean temp (approx.) |
|---|---|
| First crack | ~385–405°F |
| Second crack | ~435–450°F |
| Medium roast target | Often finishes between first and second crack |
If you run into older roast names, here’s the translation: City is often light-to-medium around/after first crack, while Full City usually means deeper development closer to the end of first crack. And “what does espresso roast mean?” It’s typically a roast style aimed at espresso extraction (often medium to medium-dark), not a universal level.
Common mistakes
- Too big a batch: Beans don’t move; scorching happens.
- Slow cooling: Beans keep cooking after you stop.
- Ignoring crack: You miss the easiest stop window.
Quick fixes
- Smaller batches: More even roasts, faster learning.
- Dump-shake-repeat: Make cooling automatic.
- One change: Adjust one variable per roast.
Rest, Store, and Brew Your Fresh Roast
Right after roasting, beans release CO₂ (degassing), which can make brews taste sharp or foamy. A simple rest window is 24–72 hours before you judge a roast. You can brew sooner—just don’t do your “final verdict” on day one.

Degassing: what changes from day 1 to week 2
Days 2–5 often taste sweeter and more coherent than day 1. By week 2, aroma usually fades, but you can still get a great cup if you store well and grind fresh.
Storage: airtight, dark, room temp (when freezing makes sense)
Store roasted coffee beans in an airtight container in a cool, dark cabinet. If you roasted a big batch, freeze in small portions and open one portion at a time so you don’t cycle moisture in and out.
If you’re asking “how to become a coffee roaster,” start by making your home process consistent (repeatable logs, sensory calibration, and defect recognition), then scale thoughtfully. For anyone thinking about starting a coffee roastery business, keep the early plan simple: small batches, a clear sales channel, and a ventilation-first workspace before you worry about fancy branding.
- Skill: Practice cupping basics and common defect tastes (scorched, baked, smoky).
- Process: Keep roast logs and repeat a profile before tweaking.
- Operations: Plan ventilation, workflow, and chaff handling like it’s core equipment.
- Business: For how to start a coffee roasting business, research local permits, labeling, insurance, and capacity.
One last beginner question: can you eat roasted coffee beans? Yes, but they’re concentrated caffeine and can be tough on some stomachs—start small if you try them. To dial in brewing, match choices to your stop point: lighter roasts often like a slightly finer grind and hotter water, while darker roasts can taste better with a slightly coarser grind and shorter contact time. Write one sentence in your roast log—future-you will thank you.