If your coffee suddenly tastes flat, bitter, or weirdly “dusty,” your grinder may be seasoning every dose with yesterday’s oils and fines.
What if your “freshly ground” coffee… isn’t fresh? Even a great grinder can quietly stockpile old grounds and rancid oils, then sprinkle them into every cup like unwanted seasoning. If you’ve ever blamed your beans, your brew method, or your water, your grinder might be the real culprit. Here’s the simplest way to clean both burr and blade grinders—without wrecking parts, soaking anything that shouldn’t get wet, or turning your kitchen into a coffee-dust snow globe.
What this fixes (fast): stale flavors, extra clumping/static, and grind “drift” that makes your usual recipe feel unpredictable.
- Quick clean: 2–3 minutes (best weekly habit)
- Deep clean: 15–25 minutes when it’s overdue
- Schedule: a realistic routine you’ll actually follow
Why your grinder gets funky (and what “clean” really means)
Your grinder isn’t “dirty” because of coffee dust—it’s mostly oil + fine particles. Every grind leaves a thin film on burrs or blades, then micro-grounds stick to that film. Over time, the film oxidizes (goes stale) and starts making fresh coffee taste oddly muted or harsh. That’s why a grinder can look fine but still make a cup taste off.
When people search how to clean a grinder (or how to clean a coffee grinder), what they usually want is a simple process that improves flavor without breaking anything. For most home setups, the best way to clean a grinder is dry brushing plus a quick purge—then using a grinder cleaner only when oils get stubborn.
For a solid reference on coffee grinder cleaning from quick refreshes to deeper resets, this Serious Eats walkthrough is a great starting point. deep-clean a grinder
“If your grounds smell like yesterday’s coffee before you brew… your grinder is talking to you.”
Three common “stale grinder” clues
- Smell test: grounds smell old, papery, or like stale nuts.
- Clumps/static: more mess at the exit chute or dosing cup.
- Grind drift: the same setting brews faster or slower than usual.
Before you start: a 60-second safety + setup routine
Cleaning goes smoothly when you do two things: remove beans and protect your grind setting. Set yourself up first, then clean. It’s the difference between “fresh again” and “why is my espresso suddenly running like water?”
Safety + care: unplug before disassembly, and keep moisture away from the grind path and motor area. This matters most for an electric coffee grinder, where moisture + leftover grounds can turn into a paste that clogs the chute.
Unplug, empty, and purge
Unplug the grinder, then remove the hopper (or lid) and pour out remaining beans. On electric burr grinders, run a 2–3 second purge before you unplug, so fewer loose grounds float around when you brush.
Lock in your grind setting
Take a quick photo of your setting. If your grinder is stepless, add a small piece of painter’s tape as a temporary alignment mark. This helps you reassemble confidently without “mystery drift” later.
Tools you’ll actually use
- Coffee grinder brush: a dedicated brush or clean paintbrush
- Microfiber cloth: hopper/lid + exterior
- Vacuum: narrow nozzle (optional)
- Toothpick (wood): packed grounds in corners
- Small bowl: screws and tiny parts
- Cleaner tablets: coffee grinder cleaner tablets for oil buildup
Know your grinder type (so you don’t clean it the wrong way)
Different grinders trap coffee differently. A blade grinder has one spinning blade and a wide bowl—easy to wipe, easy to scratch. A burr grinder has two cutting surfaces and a chute that loves to hold fines. Match the method to the mechanism and you’ll get better results in less time.
What is a burr grinder? It uses two burrs (flat or conical) that crush beans into a more uniform size. How does a burr grinder work? Beans feed between those burr surfaces and get “cut” down consistently—great for flavor clarity, but it also means oils and fines collect in the burr teeth and chute over time.
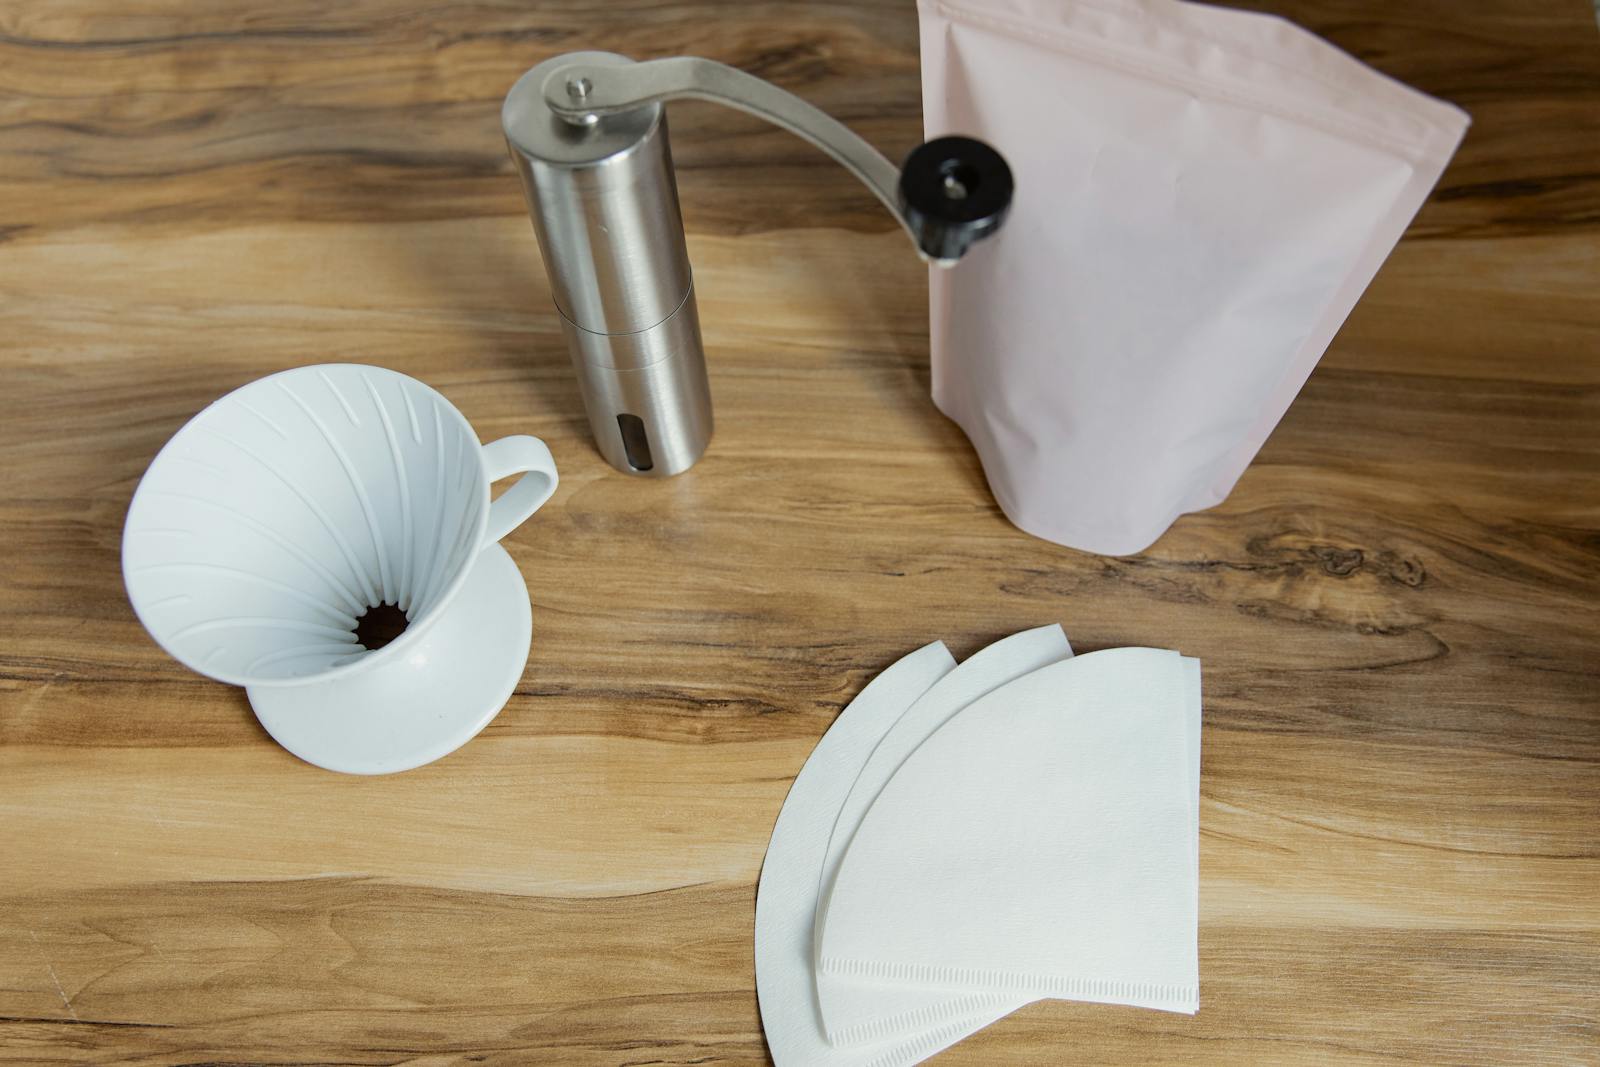
If you’re using a manual coffee grinder, the cleaning steps are basically the burr-grinder process below—just skip anything about motors and focus on brushing the burrs, threads, and catch cup.
If you want a clear burr-vs-blade breakdown with practical steps, Breville’s guide is a useful reference point. burr vs blade steps
These steps work for most popular home grinders—like OXO, Krups, Bodum, Cuisinart, Capresso, Breville, and the Fellow Opus grinder—but always check your manual for how the top burr removes and how to reassemble it correctly.
Blade grinder
- Main issue: oil film on bowl walls
- Cleaning focus: absorb + wipe
- Big risk: moisture left behind
Burr grinder
- Main issue: fines + oils in burrs/chute
- Cleaning focus: brush + clear the path
- Big risk: mis-seating burr parts
The quick clean (2–3 minutes, no drama)
This is the routine that prevents most “why does my coffee taste weird?” moments. Do it when you change beans, notice extra clumping, or once a week if you brew daily. Quick cleans are dry—you’re removing loose grounds before oily residue hardens.
Quick clean checklist (burr grinder)
- Empty: remove beans and shake out stragglers.
- Brush: short strokes around the burr opening and chamber rim.
- Tap: gently tilt the grinder to dislodge hidden fines.
- Vacuum: optional, but great for static-prone models.
Quick clean checklist (blade grinder)
- Dump: flip upside down to release loose grounds.
- Brush: focus on seams and corners where dust packs in.
- Wipe: dry microfiber for the bowl and lid interior.
When cleaner tablets help
If you’ve been using oily dark roasts or flavored beans, coffee grinder cleaner tablets can pull stubborn residue out of the grind path. After grinding tablets, run a tiny “seasoning dose” of coffee and discard it—so your next brew doesn’t taste like cleaning dust. To clean a grinder without waste, keep that purge small (a teaspoon or two), or save it for compost instead of brewing.
Deep clean a burr grinder (the step-by-step reset)
Do this monthly, or whenever flavor stays off even after a quick clean. The goal is simple: get to the burrs and the chute, remove compacted fines, and reassemble without changing your baseline settings.

Disassemble safely (and keep parts in order)
Remove the hopper and any top collar or adjustment ring. If the top burr lifts out, pull it straight up and set it on a towel. Keep screws or springs in a small bowl. If your grinder uses spacers or shims, keep them in the same order—this is where settings get accidentally “changed.”
Brush + vacuum the chamber and chute
Brush the burr teeth and chamber walls, then vacuum the rim and chute opening. For packed grounds, use a wood toothpick to break them up (avoid metal tools that can nick surfaces). If your grinder has a removable anti-static grinder screen or mesh insert near the exit, remove it (if designed to) and brush it gently before reinstalling.
Reassemble, then do a test run
Reinstall the burr and collar, confirm everything turns freely, then add a small amount of beans for a test grind. If the first dose looks extra dusty, grind and discard a small amount to clear leftover fines.
Deep clean a blade grinder (without wrecking the bowl)
Blade grinders are simple, but they hold onto oil quickly. You want to remove the film without scratching the bowl or leaving moisture behind. Think “absorb + wipe,” not “scrub + soak.”
| Option | Use it when… | Watch out for… |
|---|---|---|
| Dry brush + wipe | You’re doing weekly upkeep | Leaving oily film behind |
| Oil absorb + purge | Smell is stale even after brushing | Not clearing residue afterward |
| Wash removable parts | Your model allows safe removal | Moisture trapped before re-use |
About rice: If you’re trying to clean a coffee grinder with rice, keep it to blade grinders only and keep the amount small. Rice can create extra dust and doesn’t always clear cleanly, especially in burr grinders. Always follow with a small coffee purge you discard so your next cup tastes normal.
How often to clean your grinder (a schedule that sticks)
You don’t need a deep clean every week—you need the smallest routine you’ll actually do. Consistency beats perfection. If you grind daily, pick one day (Sunday works) for a quick brush-out and you’ll prevent most buildup.
If you want a practical frequency reference that matches how most people brew at home, WIRED’s guide covers cadence and why old oils matter. how often to clean
A realistic home schedule
| How you brew | Quick clean | Deep clean |
|---|---|---|
| Daily (any method) | Weekly | Monthly |
| Espresso-focused | Every 3–7 days | Every 2–4 weeks |
| Occasional use | Every 2–4 weeks | Every 2–3 months |
Printable cleaning tracker (fill it in as you go)
Copy this into your notes, or print this section and keep it near your grinder. Quick cleans are the “keep it fresh” habit; deep cleans are the occasional reset.
Cleaning Log (click a cell to type)
| Date | Quick clean | Deep clean | Beans used | Notes (taste / issues) |
|---|---|---|---|---|
Mini-habit: if you switch roast levels (light → dark), do a quick clean that same day.
FAQ + troubleshooting: quick answers and fixes
If you want the fastest path to “clean taste again,” start with quick clean → purge a small dose → brew one test cup. Most problems are simple once you know what to look for.
For a strong list of “what not to do” (especially moisture habits that can backfire), Mahlkönig’s cleaning notes are a helpful reference. avoid cleaning mistakes
Can I use rice to clean my grinder?
Sometimes people do, but it’s not the first choice. Rice can create extra powder and doesn’t always clear cleanly, especially in burr grinders. If you try it in a blade grinder, keep it minimal and always follow with a small coffee purge you throw away.
Do I really need cleaning tablets?
No—most people can get excellent results with brushing and vacuuming. Tablets are most useful when you’ve been grinding oily dark roasts, flavored beans, or you’ve skipped cleaning for a long time and the residue feels sticky.
Can I wash burrs with soap and water?
Usually, no. Burrs and internal chambers are best treated as dry-only areas. You can wash removable plastic parts (like some hoppers or lids) if your manufacturer allows it—just dry them completely before reassembly.
Quick scope note (so you don’t get bad advice): This guide is for coffee grinder cleaning. Searches like how to clean a metal grinder, how to clean a metal grinder with boiling water, how to clean a meat grinder, or how to clean a spice grinder usually refer to different appliances (and different safe methods). If you’re doing coffee grinder restoration on an older unit, the same cleaning steps apply—then consider replacing worn burrs if performance still feels off. And if you’re shopping for an easy to clean coffee grinder, look for removable burr access, a simple chute, and a hopper you can take off in seconds.
Also: if you landed here after searching how to clean a grinder reddit or how to clean weed grinder reddit, you’ll see lots of boiling-water and soak advice—just remember that moisture inside an electric coffee grinder (or around burr parts) can cause problems. Outlier searches like how to use bd1 grinder or “soap grinding machine” usually point to unrelated hardware, not coffee grinders.
It still tastes bitter after cleaning
Grind and discard a small “seasoning dose,” then brew one cup slightly coarser than usual. If bitterness drops quickly, you likely had leftover fines or tablet dust in the chute.
My burr grinder slows down or clogs
Check the chute opening and the exit path—packed fines often hide just beyond where the brush reaches. A narrow vacuum nozzle plus a wood toothpick can break up a plug without damaging surfaces.
My Breville grinder is jammed, loud, or not working
If your Breville coffee grinder is jammed, making a loud noise, or not feeding beans, unplug it and clear the chute before running it again. Most “not working” moments are packed fines or oily residue blocking the exit path. If your grinder is part of a combo unit, note that “how to descale Breville Grind and Brew” is a separate maintenance task from grinding—descaling applies to the brewer’s water path, not the burrs.
My grind looks inconsistent after reassembly
Recheck that the burr is fully seated and any spacers/shims went back in the correct order. Return to your original setting photo, then adjust from a known baseline in small steps.
Bottom line: once your quick clean becomes routine, deep cleaning stops being a weekend project—and your coffee starts tasting like the bag promised.